Quick Guides

Areas Configuration
 
Areas are linked with categories, users, record types, teams, sources & other areas. An area could be anything from a department or sub department within your organization or company such as Finance, Marketing, Front Desk and Customer Service among others. 
 
When creating & configuring a new Area you need to have the following information already interpreted:
  1. Areas will need users
  2. Areas will need Sources
  3. Area will need Records
  4. Areas will need Categories
  5. Areas may have Teams of Users
  6. Areas needs to have Working Areas
What is the difference between a Working Area and a Registering Area? The Registering Area indicates where the case was created. The Working Area is where the case will be destined and defines what the case is about. Now that we understand what Area are let’s get started.
 
To create a new area: 
  1. Go to Followit > Administration 
  2. Select Areas from the menu on the left
  3. Click on New Area to open the New Area Window 

New Area.png

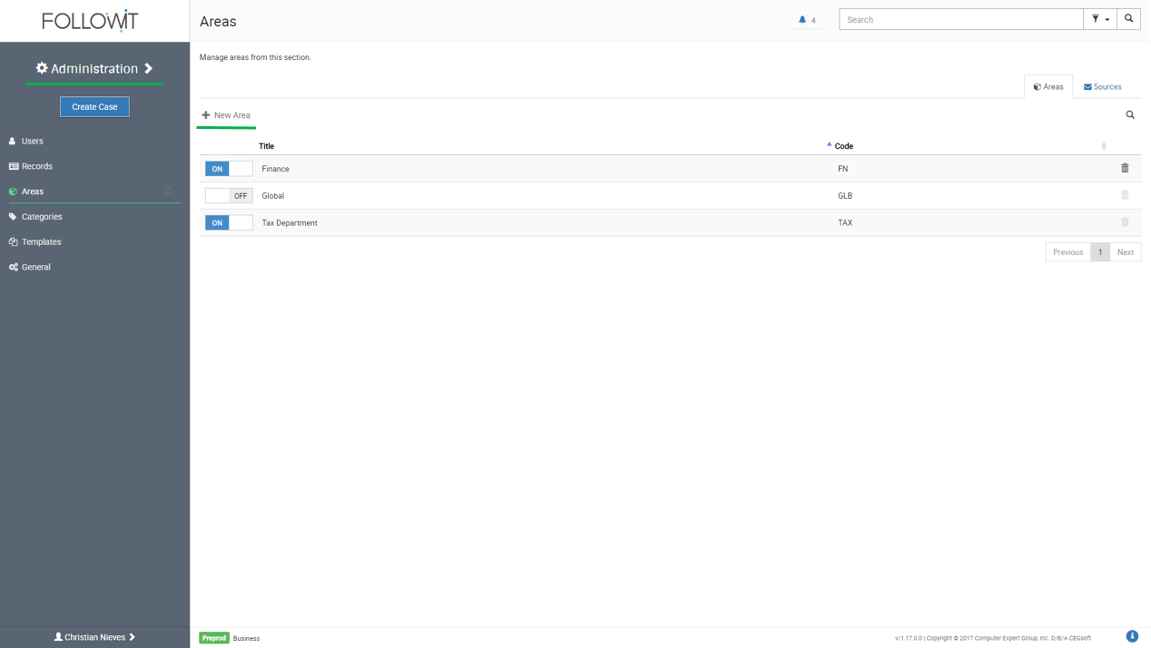
On the New Area Window you will need to provide the Area Title & Code; once these data is included click Save. (Code is a unique 3 character abbreviation to distinguish each area.) 

Next you will need to configure the newly created Area: (Before configuring the area make sure you have already created at least one additional area, Sources and Category)

  1. The Area window will show 5 new terms where you will need to select available options to be related to the area:
    • Areas to Refer (Working Areas)
    • Record Types
    • Sources
    • Categories
    • Users (Select whether the user will be associated to the area; also identify if he/she will be a receiver and/or monitor of the area)
    • Teams (Optional configuration)
  2. After selecting the values to relate to the Area make sure you click Save.
  3. After saving the configuration you can close the Area window by clicking on the X located at the top right corner.
Area Profile - Admin.png
 
Assign Record Types to Areas
 

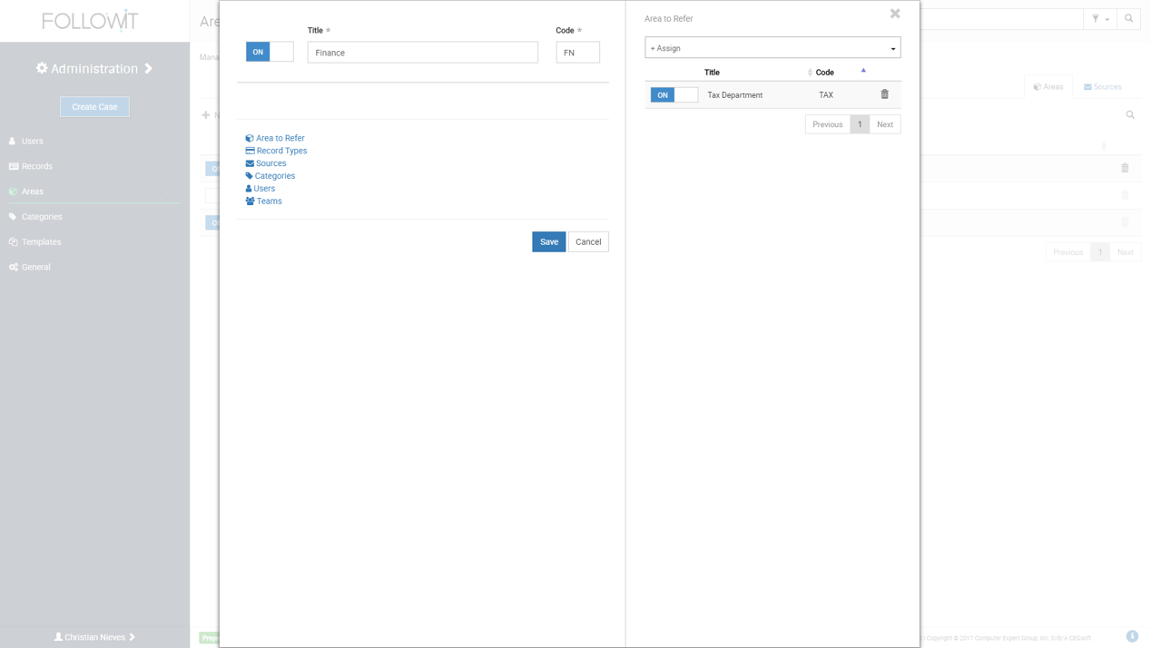
This feature requires the administrator to assign Record Types to Areas. This means that you will need to assign all Record Types that are to be associated to the particular Area; this will allow Followit to only display the Senders you choose under the Related To section when creating a New Case from these areas (Registering Areas).

To assign Record Types to Areas, follow these steps:

  1. Navigate to Administration > Areas.
  2. Select from the list the area you want to assign the record types.
  3. On the Area edit window, select Record Types.
  4. On the right side of the window you will need to select the Sender Types you want to assign to the area.
  5. Click Save to apply the changes. 
 

Want to watch the Video Tutorial? Click Here