Quick Guides

Case Branching
 

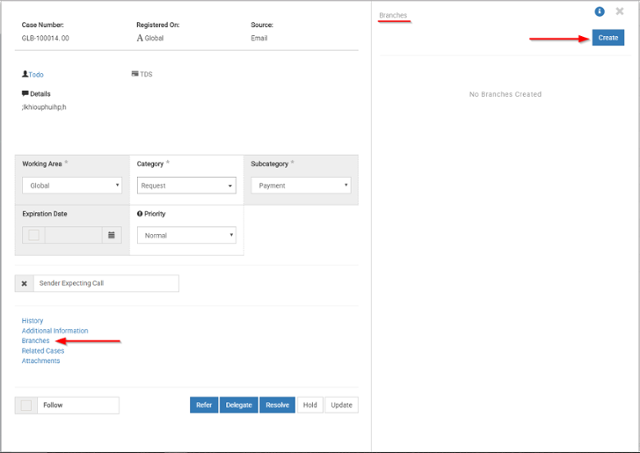
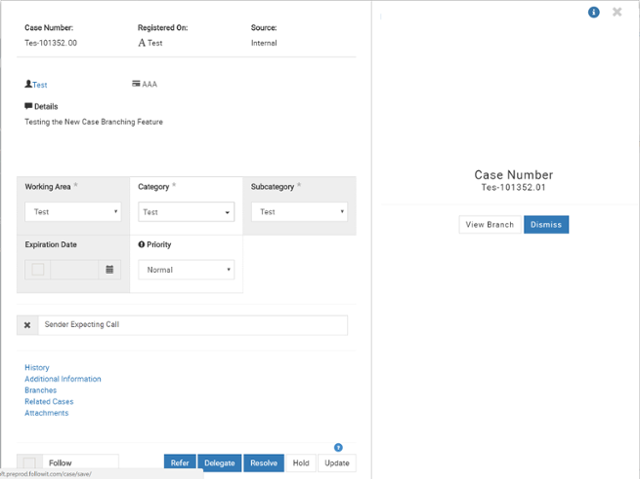
Followit allows you to create secondary (child) cases, related to an original case (Parent), thanks to the Case Branching feature. Create related cases and send them to different users and/or areas to be worked on. Followit will maintain a tracking of the original (parent case) as well as the branches (child cases).

A vivid example of this feature in use could be a Contract Approval. Let’s say you need legal insight, vendor information, and another department’s signoff. Well, Case branching allows you to create the Contract Approval Case (Parent) and then create different branched cases (child’s) to be worked on in parallel within different areas all to achieve the final outcome, Approve the Contract.

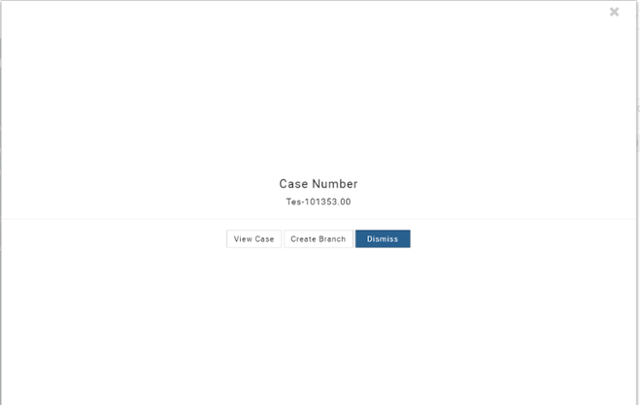
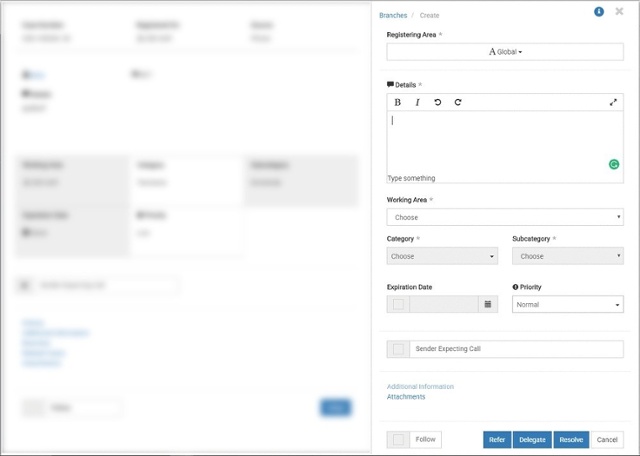
To create case branches follow these steps: 

  1. Create the original (parent) case in Followit
  2. Once the data is gathered you can refer, delegate, place on On-hold or resolve the case.
  3. Once the action is taken on the original (parent) case you will be prompted with the Case Number window, here make sure to click on Create Branch

    Case Number Window.png


  4. Once back on the original (parent) case, you will see the Branch section on the right side of the case window, here click on Create to start a branch case.

    Branch.png

  5. Provide all the Case Branch values and take action the require action on the branch.

    Case Branch Window.jpg

  6. After the case branch is created you will be prompted with the Case Number window where you can view the case or dismiss the window

    Case Branch Number.png
You can always create new case branches by opening a case and clicking on the Branches section. You will need to be the owner of the case in order to be able to create a branch out of the original case. 
 
Cases can be visually identified as branches given their case number incorporates a visual aid.
 
Inbox wih Branch.png